Plant Cell Lab: Spinach Leaf Stomata
- The Biology Buzz Place

- 21 hours ago
- 3 min read

Here is a simple lab that students can do that will allow them to explore the stomata in plants. Are you ready? If so, grab some spinach leaves and head over with me! :) Spinach leaves are wonderful for cooking and making salads with, but did you know they can also be used for viewing plant stoma under a microscope? Spinach leaves are thin, with a flexible top layer, making them easy to work with. Of course, any flat leaf and wide leaf will work, just make sure it lacks a fuzzy texture, and whichever leaf you use, try it before you use it with your classes.
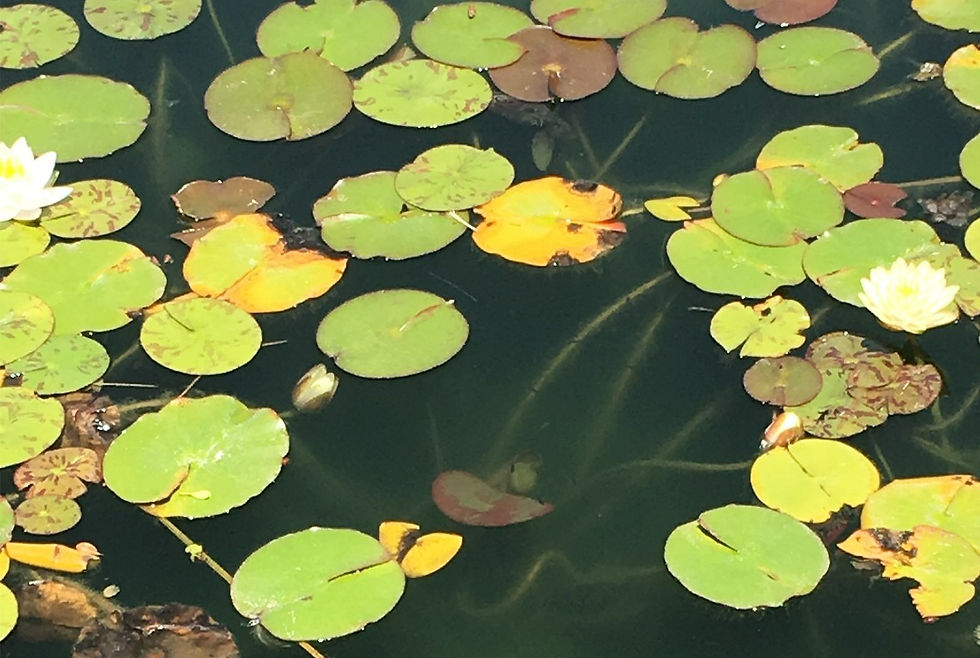
The stomata are the microscopic pores that are primarily located on the epidermis of a leaf. Stoma is the singular form of the word and stomata is the plural form of the word. In some plants they are on the top of the leaf, in other plants they are both on top and on the underside, and some only on the underside. In spinach, like many plants, the stomata are mostly on the underside of the leaf. Stomata are also located in the stems of some plants. Aquatic plants, like water lilies (see picture), have stomata only on the top of the leaf, because if they had them on the underside of the leaf or in stems, they would be blocked by water.
The stomata in a leaves are where carbon dioxide enters a plant and oxygen, and water vapor are released from a plant. If you recall, carbon dioxide, along with water and sunlight, are needed for photosynthesis to take place. This is how plants make their own food, sugars. Oxygen gas is a byproduct of photosynthesis.
Transpiration is the process of absorption of water in soil by a plant's roots, and the release of water through the stoma. The absorbed water is transported to the leaves through the xylem tube where it then combines with carbon dioxide from air and energy from sunlight to make sugars for the plant. The water is released from the plant automatically when the stoma opens to let in CO2. The amount of water in a plant must be in balance. If water is lost faster than roots can absorb it, this is a problem. Water also helps cool a plant.
For this reason, plants can open and close the stomata in response to water loss or an excess of water. Guard cells play a role in this opening and closing. Each stoma has two bean-shaped guard cells surrounding them. Guard cells expand and contract to open and close the stoma. Stomata are usually opened during the day to let gases pass freely in and out of the leaf, and close at night to minimize water loss, since photosynthesis does not occur at night.

Desert plants are unique in that they keep their stomata closed during the day and only open them at night to let in carbon dioxide. These kinds of plants are called Crassulacean acid metabolism (CAM) plants. The carbon dioxide is chemically fixed and stored in the plant vacuole and then is used the next day, when photosynthesis takes place.
In addition to seeing stomata in this lab, students will also be able to see guard cells and and neighboring epidermal plant cells.
Materials:
1.Clear tape
2.Spinach leaves washed and dried from the water
3.Clear nail polish
4.Microscope and microscope slides
5.Tweezer
Procedure:
1.Wash a spinach leaf and pat it dry.
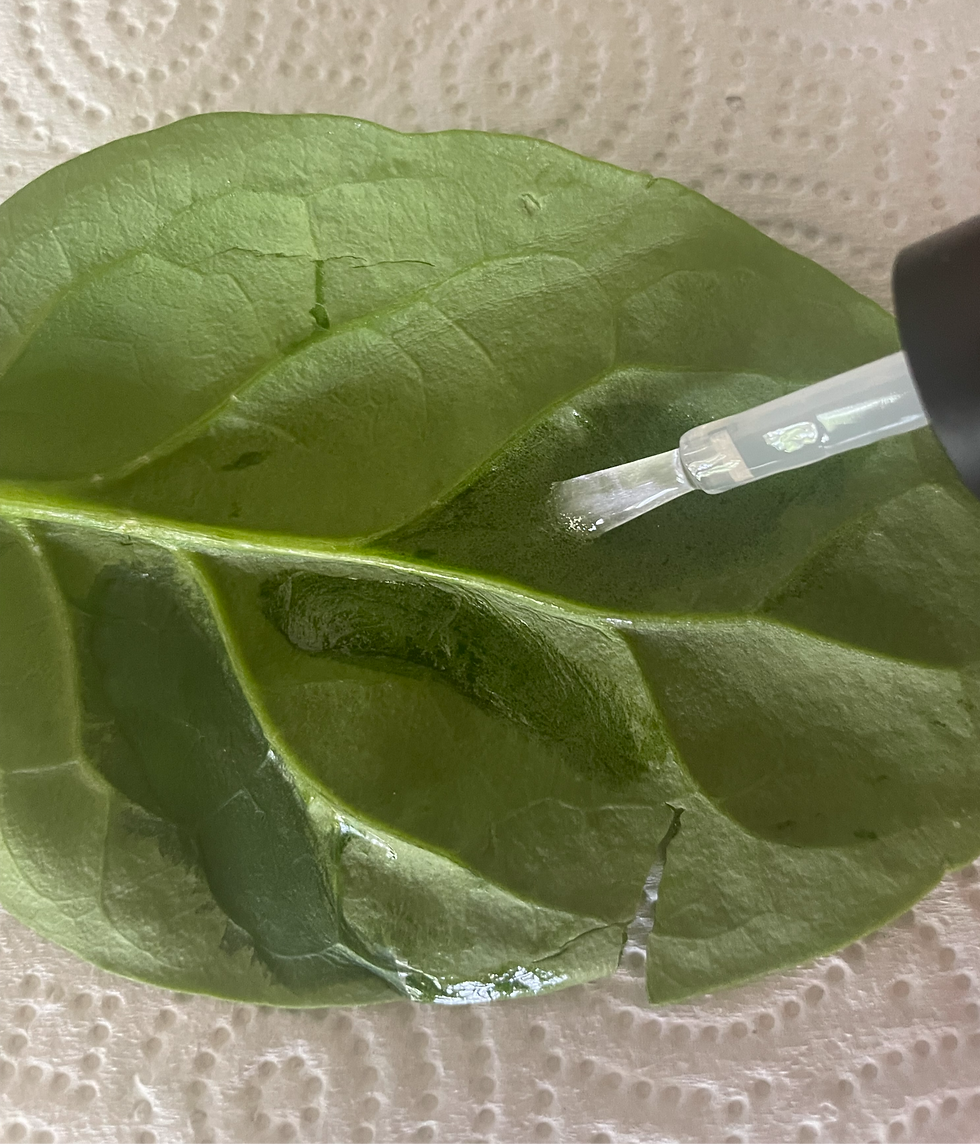
2. Apply a thin layer of clear nail polish to the underside of a spinach leaf on the flat part. Make
sure to use the underside, because this is where there will be more stomata. Avoid painting
over the leaf veins.
3. Wait about 10 minutes for the nail polish to dry then place a clear piece of tape over the dried
nail polish and gently press down on it with your finger. Be careful not to damage the leaf
when pressing on it.

4. Peel the tape off slowly. Use a tweezer if you need to, to carefully remove the tape, so as not
to tear the leaf. The clear tape will have an imprint of the leaf's surface, capturing lots of cells.
Now, place this tape, sticky side down, on a clean microscope slide.

6. View the slide under x400 magnification. Begin focusing using the lowest power (x10)
you can capture a good view of the stomata and guard cells.
7. Have students draw a labeled picture of their observations. You can use my free worksheet
for this lab.


Comments